Setting up a Cybersecurity Home Lab
Creating a test environment to practice cybersecurity tools and techniques.

This post will be short and focus on outlining a basic setup for a cybersecurity home lab. A home lab is a great way to practice cybersecurity tools and techniques in a safe environment. I will be using this environment in the future to test and document various cybersecurity tools and techniques, and also expand upon the setup further.
Objectives: Create a simple home lab environment using virtual machines and network configurations
Introduction
Why Create a Home Lab?
Creating a cybersecurity home lab offers numerous advantages. It includes hands-on experience with real-world tools and techniques, and the ability to practice and refine skills in a controlled environment. It also provides the flexibility to explore various cybersecurity domains, such as penetration testing, incident response, and network monitoring. A home lab provides a safe space to experiment with attacks and defenses without risking live systems. It enhances problem-solving and technical proficiency and is a valuable addition to any cybersecurity professional’s portfolio, showcasing their dedication to continuous learning and practical expertise.
Why use Virtual Machines?
Virtual machines (VMs) are a fundamental component of a home lab setup. They allow you to create isolated environments for testing different operating systems, applications, and configurations. VMs are cost-effective, scalable, and easy to manage. They provide a sandboxed environment where you can experiment with various cybersecurity tools and techniques without affecting your primary system. VMs can be created, cloned, and destroyed quickly, enabling rapid prototyping and testing. They are essential for simulating real-world scenarios and practicing cybersecurity skills in a safe and controlled manner.
An alternative to hosting your VMs virtually would be to use physical hardware, but this can be costly, less flexible, and more challenging to manage. Another option is to use cloud-based services, which offer scalability and accessibility but may incur additional costs and require an internet connection.
Requirements
Hardware and Software
For my lab, I will use VMware Workstation Pro to host my virtual machines. VMware Workstation Pro is a powerful desktop virtualization software that allows you to run multiple operating systems simultaneously on a single PC. It provides a user-friendly interface for managing VMs, networking, and storage configurations. Be sure to have enough RAM, CPU, and storage space to run multiple VMs concurrently. You can also use other virtualization platforms like VirtualBox or Hyper-V based on your preferences and requirements.
Operating Systems
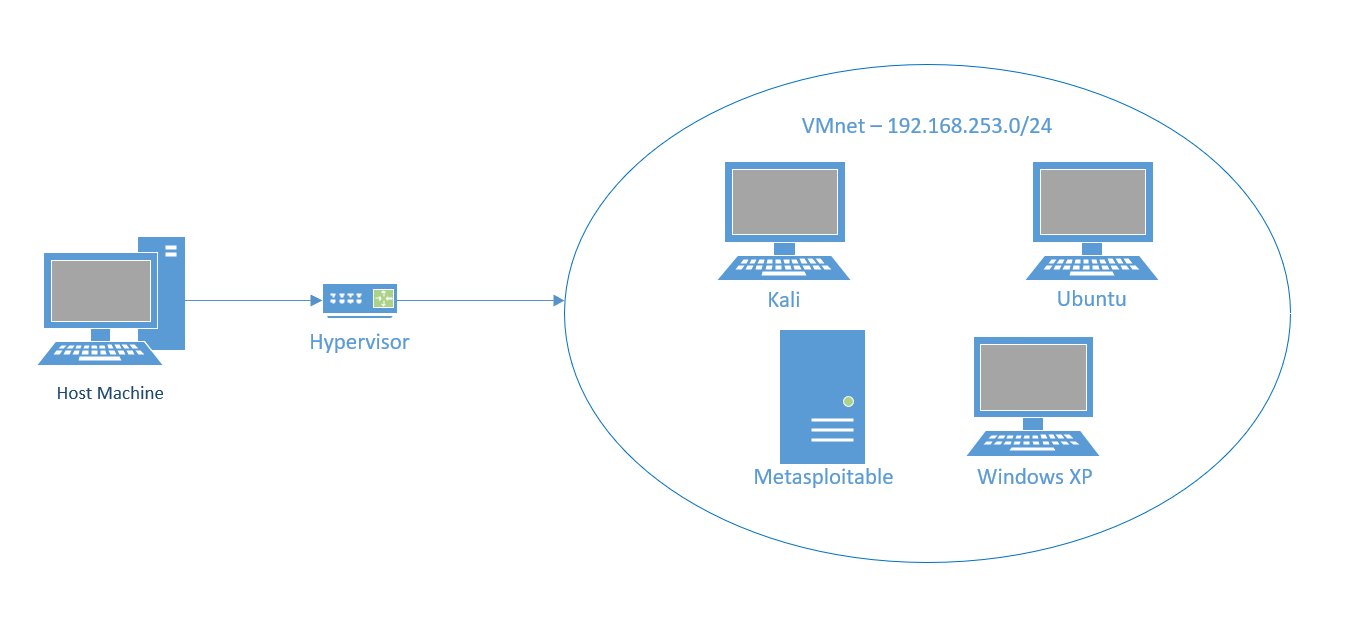
To start, the lab will have four VMs running different operating systems:
- Kali Linux: A popular Linux distribution will be used for offensive security tasks like vulnerability assessment, exploitation, and network scanning. Download it here: Kali Linux.
- Ubuntu: A general-purpose Linux distribution will be used for various cybersecurity tasks network monitoring, log analysis, incident response, and more. Download it here: Ubuntu.
- Metasploitable: A purposely vulnerable Linux distribution designed for practicing penetration testing and exploitation techniques. Download it here: Metasploitable.
- Windows XP: An outdated Windows operating system will be used to simulate legacy systems and practice Windows-specific attacks and defenses. Windows XP is no longer supported, but you can find ISOs online for testing purposes.
These operating systems cover a range of cybersecurity scenarios and provide a diverse environment for testing tools and techniques. I plan on adding more machines, such as Windows Server, newer versions of Windows, and implementing an Active Directory environment in the future.
Network Configuration
The VMs will be connected using a virtual network. I will create a custom network configuration using NAT which will be able to assign the VMs IP addresses and minimize the need for manual network configurations, DHCP servers, or a domain controller. Below is the virtual network editor configuration:
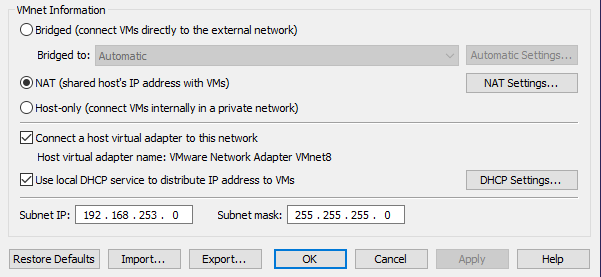
This setup will allow the VMs to communicate while maintaining isolation from the external network. Below is a simple diagram of the network configuration:
Configuring the VMs
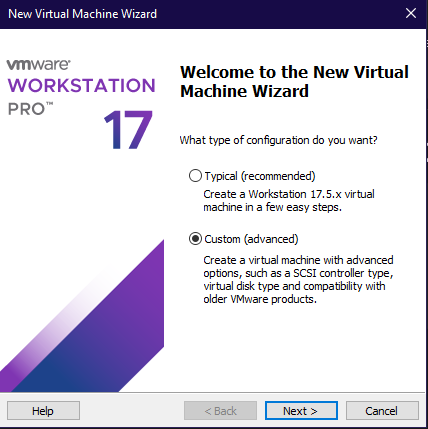
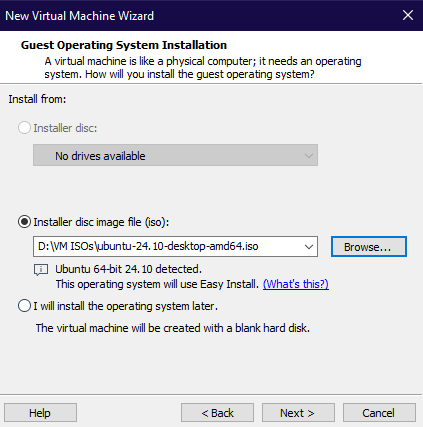
I won’t go over the steps for setting up each VM in this post, but I will provide a brief example of setting up the Ubuntu VM on VMware Workstation Pro:
Select new virtual machine and choose custom configuration.
Choose the Ubuntu ISO file for installation.
Configure the VM settings based on your needs and hardware, including RAM, CPU, storage, and set the network adapter to the VMnet we created.
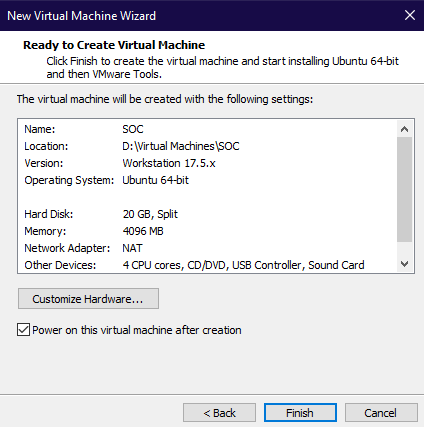
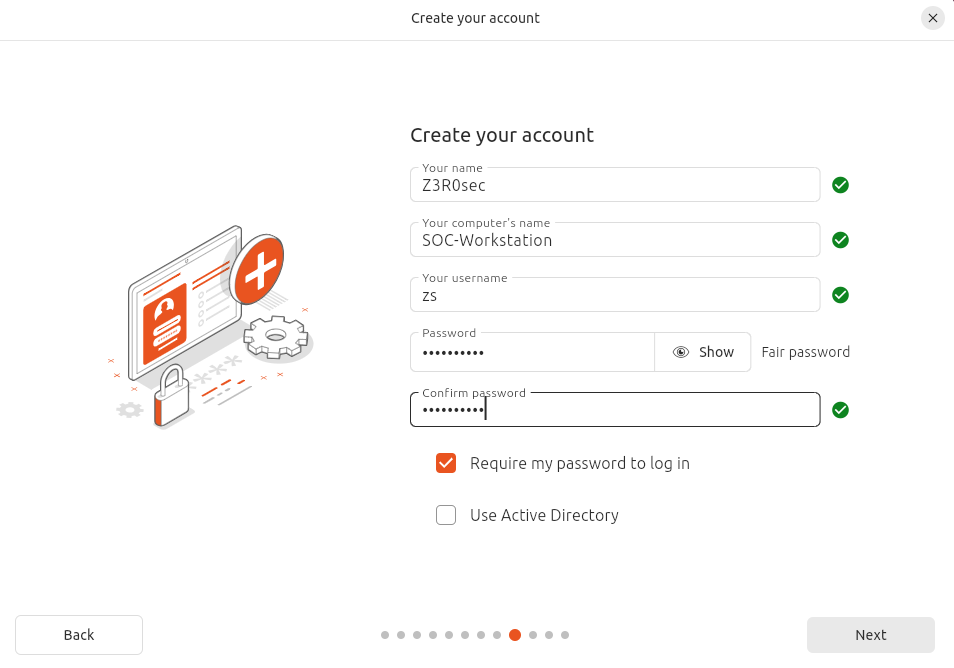
Complete the installation process and repeat the steps for other VMs. After this is done, the machines will require further configuration, such as setting the username and password, and the basic process for installing a new operating system.
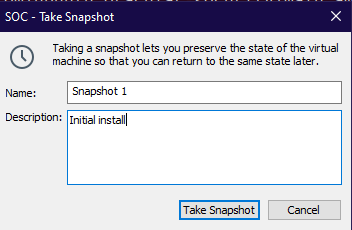
Upon completion, I recommend taking snapshots of the VMs to revert to a clean state if needed. This is especially useful when testing malware or performing destructive actions.
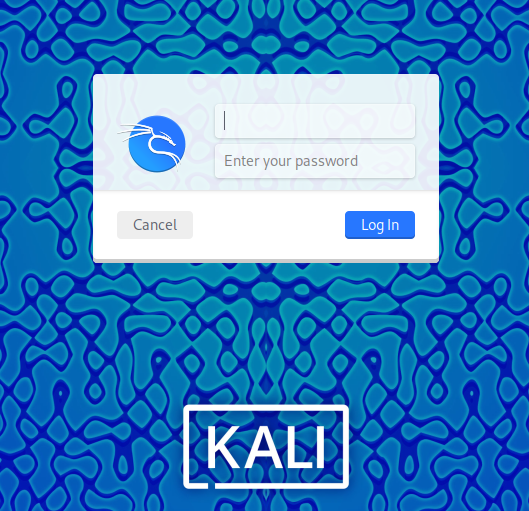
Everything is Ready!
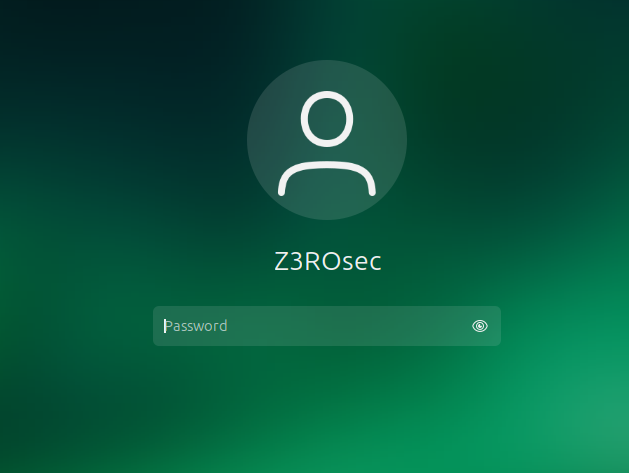
Below are the screenshots of the VMs running in VMware Workstation Pro. With this, we are now ready to begin testing various cybersecurity tools and techniques in our home lab environment.


Conclusion
Setting up a cybersecurity home lab is an essential step for anyone interested in cybersecurity. It provides a safe environment to practice and refine skills, experiment with tools and techniques, and explore different cybersecurity domains. By using virtual machines and network configurations, you can create diverse environments for testing and learning. Whether you are a beginner looking to gain hands-on experience or an experienced professional honing your skills, a home lab is a valuable resource for continuous learning and growth in the field of cybersecurity. I look forward to sharing more detailed guides, tutorials, and write-ups based on my home lab setup in the future. Stay tuned for more cybersecurity content!